Aprilaire 600 Humidifier Installation: A Comprehensive Guide
Embarking on an Aprilaire 600 humidifier installation? This guide simplifies the process, transforming a daunting task into manageable steps for optimal home moisture control․
Understanding the Aprilaire 600 Model
The Aprilaire 600 is a large, bypass evaporative humidifier designed to add essential moisture to your home’s air during the dry heating season․ It’s a popular choice for larger homes, capable of humidifying up to 4,000 square feet․ Unlike some models, the 600 doesn’t require a fan, relying instead on the furnace’s blower to circulate air through the evaporator pad․
Key features include its ability to be installed on either the supply plenum or the return duct, offering flexibility during installation․ The 600 and 600M models accommodate both right-hand and left-hand bypass duct connections․ Understanding this versatility is crucial for proper placement․ It operates with a digital control, allowing for precise humidity level adjustments, and utilizes an ODT sensor for accurate temperature readings․ Proper operation relies on a correctly set control, initially matched to your home’s conditions, as outlined in the owner’s manual․
Initial Considerations Before Installation
Before beginning, carefully assess your furnace and ductwork․ Determine if you have sufficient space for the Aprilaire 600, considering its dimensions․ Decide between a supply plenum or return duct installation – both are viable, but access and duct configuration will influence your choice․
Crucially, identify the existing bypass duct․ This is essential for the humidifier’s operation․ Note whether you need a right-hand or left-hand bypass connection․ Ensure a suitable water supply is nearby, ideally a cold water line with adequate pressure․ Plan for the drain line, ensuring it can gravity drain or connect to a pump if necessary․ Finally, review the owner’s manual for models 400, 550, 600, and 700, understanding the initial control settings needed to match your home’s specific conditions․
Tools and Materials Required

Gathering the right tools and materials is key to a smooth installation․ You’ll need a screwdriver set (Phillips and flathead), wire strippers/crimpers, a drill with various bits, a hole saw (sized for the water supply and drain line), and a level․ Essential materials include the Aprilaire 600 humidifier unit, bypass duct adapter, water supply connector (typically a saddle valve or T-fitting), and drain tubing․
Don’t forget Teflon tape for sealing threaded connections, wire connectors, electrical tape, and potentially a condensate pump if gravity drainage isn’t possible․ A voltage tester is crucial for electrical safety․ Depending on your setup, you might also require sheet metal screws, duct sealant, and insulation for the water supply line to prevent freezing․
Safety Precautions
Prioritizing safety is paramount during Aprilaire 600 installation․ Always disconnect power to the furnace at the breaker box before commencing any electrical work․ Verify the power is off with a voltage tester․ When working with ductwork, wear gloves and eye protection to avoid injury from sharp edges․
Exercise caution when drilling into ductwork or walls, ensuring no electrical wiring or plumbing is present․ If connecting to the water supply, be mindful of potential water damage and shut off the water supply valve beforehand․ Follow all local electrical and plumbing codes․ If you are uncomfortable with any aspect of the installation, consult a qualified HVAC professional․
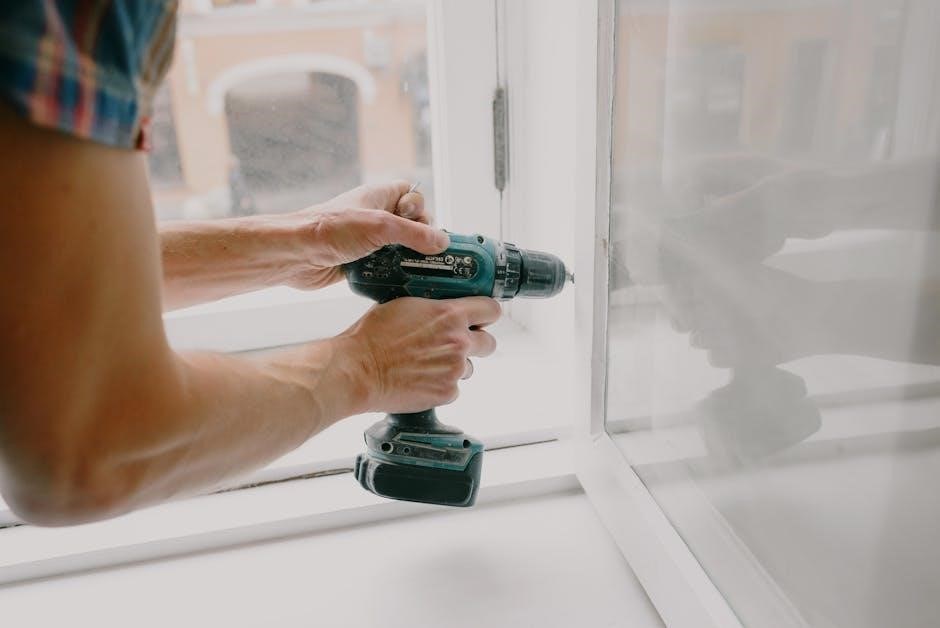
Installation Process

Begin the installation by carefully selecting the optimal location – either the supply plenum or return duct – and ensuring proper bypass duct configuration․
Locating the Installation Point (Supply Plenum vs․ Return Duct)
Determining the ideal installation location is crucial for optimal performance․ The Aprilaire 600 and 600M models offer flexibility, being compatible with both supply plenum and cold air return duct installations․
Supply plenum installation generally provides quicker humidity distribution throughout the home, as the moisture is introduced directly into the heated air stream․ However, it may require more extensive ductwork modifications․
Return duct installation is often simpler, requiring less ductwork alteration, and is suitable for systems where access to the supply plenum is limited․ It’s important to ensure sufficient space and a straight duct run for proper airflow around the humidifier unit․ Consider the existing ductwork layout and accessibility when making your decision, prioritizing a secure and efficient setup for consistent humidity control;
Bypass Duct Connection – Right-Hand vs․ Left-Hand
The Aprilaire 600’s bypass duct connection is adaptable, accommodating both right-hand and left-hand configurations depending on your furnace setup․ This flexibility simplifies installation in various home environments․
Understanding the airflow direction is key․ A right-hand bypass directs airflow from the furnace’s supply side, around the humidifier, and back to the return duct․ Conversely, a left-hand bypass reverses this flow․
Proper connection ensures efficient operation․ Incorrectly connecting the bypass duct can significantly reduce the humidifier’s effectiveness; Carefully assess your furnace’s ductwork layout to determine the correct configuration․ Securely attach the bypass duct using appropriate fasteners and ensure a tight seal to prevent air leaks, maximizing humidity output and system efficiency․
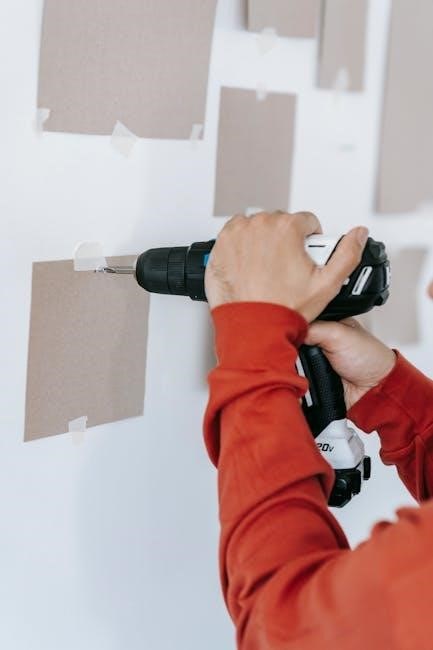
Mounting the Humidifier Unit
Securely mounting the Aprilaire 600 is crucial for stable operation and longevity․ Choose a location within the ductwork that provides adequate clearance for service and maintenance, avoiding obstructions like wiring or dampers․
Utilize the provided mounting bracket, ensuring it’s firmly attached to a solid surface within the duct․ Pre-drilling pilot holes can simplify this process, especially with metal ductwork․ Confirm the unit is level to prevent uneven water distribution and potential malfunctions․
Vibration dampening is recommended to minimize noise transmission through the duct system․ Rubber isolators or pads can be placed between the unit and the mounting bracket․ Double-check all connections and fasteners for tightness before proceeding to the next installation step․
Water Supply Connection
Connecting a reliable water supply is essential for the Aprilaire 600’s functionality․ A cold water line, typically ½ inch, should be located near the humidifier․ Use a saddle valve or a dedicated tap to provide a consistent water source, avoiding hot water lines which can damage the unit․
Employ Teflon tape on all threaded connections to prevent leaks․ Ensure the water supply line is securely fastened to the humidifier’s inlet, avoiding any strain or kinks․ A shut-off valve is highly recommended for easy maintenance and emergency water shut-off․
Check for leaks immediately after connecting the water supply․ Slowly turn on the water and inspect all joints for any signs of dripping․ Address any leaks promptly to prevent water damage and ensure optimal humidifier performance․
Drain Line Installation and Considerations
Proper drain line installation is crucial to prevent water damage and maintain humidifier efficiency․ The Aprilaire 600 requires a drain line to remove excess mineral deposits․ A ¾ inch I․D․ hose is typically recommended for this purpose․
Route the drain line to a suitable drain, such as a floor drain, standpipe, or laundry tub․ Avoid connecting it to the sewer line, as this can cause odors․ Ensure the drain line has a continuous downward slope to facilitate proper drainage and prevent water from pooling․
Periodically check the drain line for clogs or obstructions․ Flushing the line with water can help prevent buildup․ Proper drainage ensures the humidifier operates efficiently and prevents potential water damage within your home․

Electrical Wiring
Connecting the Aprilaire 600 requires careful wiring of the digital control, furnace transformer (R/C), ODT sensor, and H solenoid for proper operation․
Wiring the Aprilaire 600 Digital Control
Successfully wiring the Aprilaire 600 digital control is crucial for its functionality․ Begin by identifying the existing wiring from your older control, if applicable․ Typically, you’ll encounter connections for R/C (power), ODT (outdoor temperature sensor), and H (solenoid valve)․
The R/C wires connect to the furnace transformer, providing the necessary power․ Ensure the transformer provides the correct voltage․ The ODT sensor wire transmits outdoor temperature readings to the control, influencing humidity output․ Finally, the H wire activates the solenoid valve, controlling water flow to the humidifier․
Carefully match the wire labels from the old control to the corresponding terminals on the new digital control․ Double-check all connections before proceeding, and consult the Aprilaire wiring diagram for specific guidance․ Incorrect wiring can damage the control or humidifier․
Connecting to the Furnace Transformer (R/C)
Establishing a secure connection to the furnace transformer via the R/C wires is fundamental for powering the Aprilaire 600 digital control․ Locate the furnace transformer, typically housed within the furnace’s control panel․ Identify the R (power) and C (common) terminals․
Carefully connect the corresponding wires from the humidifier control to these terminals․ Ensure a snug fit to prevent loose connections and potential electrical issues․ It’s vital to verify the transformer outputs the correct voltage – usually 24VAC – to avoid damaging the control․
If you’re unsure about the wiring or voltage, consult a qualified HVAC technician․ Incorrect transformer connections can lead to control malfunction or even pose a safety hazard․ Always disconnect power to the furnace before working with electrical components․
ODT Sensor Wiring
The Outdoor Temperature (ODT) sensor plays a crucial role in automatically adjusting humidifier output based on external conditions․ Connect the wires from the ODT sensor to the designated terminals on the Aprilaire 600 digital control․ Typically, these are labeled specifically for ODT sensor connection․
Ensure the wiring is secure and properly insulated to prevent interference or shorts․ The ODT sensor should be mounted outdoors in a shaded location, protected from direct sunlight and precipitation, for accurate temperature readings․
Proper ODT sensor wiring ensures the humidifier operates efficiently, preventing over-humidification during milder weather and increasing output when it’s colder․ Refer to the wiring diagram in the installation manual for precise terminal locations and connection details․
H Solenoid Wiring
The ‘H’ solenoid controls the water flow to the humidifier․ Connect the wires leading to the solenoid valve to the corresponding terminals on the Aprilaire 600 digital control panel․ This connection activates the solenoid, allowing water to enter the humidifier when humidity levels require it․
Double-check the polarity and ensure a secure connection to prevent malfunctions․ The solenoid valve is typically located near the water supply connection to the humidifier unit․ Proper wiring is essential for reliable operation․
Refer to the wiring diagram provided in the installation manual for the exact terminal designations and connection instructions․ Incorrect wiring can lead to water leakage or prevent the humidifier from functioning correctly․
Control Setup and Operation
Initial setup is crucial for optimal performance․ Adjust settings based on your home’s conditions, referencing Table 1 in the operation guide for personalized humidity control․
Initial Control Settings (Models 400, 550, 600, 700)
Proper initial settings are vital for your Aprilaire humidifier’s performance during the first heating season․ The control is installed within the cold air return duct, and requires careful adjustment to match your home’s specific conditions․ Begin by consulting the Operation Guide, specifically Table 1, which provides a foundational understanding of humidity levels and corresponding control settings․
For models 400, 550, 600, and 700, start with a lower humidity setting and gradually increase it until you achieve a comfortable level․ Consider factors like home insulation, window efficiency, and outdoor climate․ Observe condensation on windows as an indicator – excessive condensation suggests the humidity is too high․ Remember, the goal is balanced humidity, preventing both dryness and moisture-related issues․ Regular monitoring and fine-tuning are key to maximizing efficiency and comfort․
Understanding the Operation Guide (Table 1)
Table 1 within the Aprilaire operation guide is your key to interpreting humidity levels and correlating them to appropriate control settings for models 400, 550, 600, and 700․ This table provides a structured approach to initial setup, guiding you through adjustments based on your home’s unique characteristics․
The guide typically outlines recommended humidity percentages for varying outdoor temperatures and home conditions․ It helps you understand how to balance comfort with preventing issues like condensation․ Carefully review the table to identify the starting point for your humidifier setting․ Remember, these are suggestions; you may need to fine-tune based on personal preference and observation․ Utilizing Table 1 ensures a systematic and informed approach to achieving optimal humidity control within your home․
Setting Humidity Levels
Adjusting humidity levels on your Aprilaire 600 is crucial for comfort and preventing moisture-related problems․ Begin by referencing the Operation Guide (Table 1) for initial settings based on outdoor temperatures and your home’s specific needs․ The digital control allows precise adjustments, typically ranging from 25% to 60% relative humidity․
Start with a moderate setting, around 35-40%, and observe the impact over 24-48 hours․ Monitor for condensation on windows or walls – a sign of excessive humidity․ Gradually increase or decrease the setting until you achieve a comfortable balance․ Lower humidity levels are preferable during colder months to prevent condensation, while slightly higher levels can be comfortable in warmer seasons․ Remember, personal preference plays a significant role in finding the ideal setting․
Post-Installation Checks
Verify proper operation by inspecting the drain line, testing humidifier functionality, and addressing any issues promptly to ensure efficient and reliable moisture control․
Checking the Drain Line
Ensuring a clear drain line is crucial for preventing water damage and maintaining optimal humidifier performance․ After installation, carefully inspect the entire length of the drain line, verifying there are no kinks, obstructions, or low points where water could accumulate and potentially freeze․
Run the humidifier for a short period and observe the drain line for consistent water flow․ A slow or nonexistent flow indicates a blockage that needs immediate attention․ Common culprits include sediment buildup or debris․

Periodically flushing the drain line with water can help prevent future clogs․ Consider using a wet/dry vacuum to gently clear any obstructions if necessary․ Proper drain line maintenance is a simple yet vital step in prolonging the life of your Aprilaire 600 and safeguarding your home․
Testing the Humidifier Functionality
Post-installation testing confirms your Aprilaire 600 is operating correctly․ After completing the installation and control setup, activate the furnace and allow the system to cycle through a heating period․ Observe the humidifier for signs of operation – listen for the sound of water flowing and the fan engaging․
Monitor the humidity levels within your home using a separate hygrometer to verify the humidifier is increasing moisture as expected․ Refer to the operation guide (Table 1) for recommended humidity settings based on outdoor temperature․
Check for any leaks around the humidifier unit, water supply connections, and drain line․ Address any issues immediately․ Thorough testing ensures efficient and trouble-free operation, providing comfortable humidity levels throughout your home․
Troubleshooting Common Issues
Encountering problems? Several issues can arise during Aprilaire 600 operation․ A common concern is insufficient humidity; verify correct control settings and ensure the water supply valve is fully open․ If the humidifier isn’t turning on, check the electrical connections and furnace transformer voltage․
Water leaks often indicate a faulty solenoid valve or loose connections – inspect these carefully․ Excessive noise could signal a failing fan motor․ Regularly check the drain line for clogs, as blockages can cause water damage․
Consult the Aprilaire documentation for specific error codes displayed on the digital control․ If issues persist, contacting a qualified HVAC technician is recommended for diagnosis and repair, ensuring optimal performance and preventing further complications․
Periodic Maintenance
Maintaining your Aprilaire 600 ensures longevity and efficiency․ Regularly – at least annually – inspect and clean the humidifier pad, replacing it if necessary to prevent mineral buildup and maintain optimal moisture output․ Thoroughly flush the drain line to prevent clogs and water damage, ensuring proper water flow․
Check the water supply valve for leaks or corrosion․ Periodically examine the fan motor for debris accumulation and ensure smooth operation․ Inspect all wiring connections for tightness and corrosion․
Review the control settings seasonally to adjust humidity levels based on changing weather conditions․ Following these simple maintenance steps will help prolong the life of your humidifier and maintain consistent, comfortable humidity levels throughout your home․
