Manual Boost Controller: An Overview
Understanding the intricate connections – turbo to MBC to wastegate – is crucial for optimal performance.
Diagrams illustrate solenoid wiring‚ like Honda ECU pin A26 connections‚ and hose routing.
What is a Manual Boost Controller (MBC)?
A Manual Boost Controller (MBC) is a device used to regulate the amount of boost pressure produced by a turbocharger. Unlike electronic boost controllers‚ an MBC relies on a driver’s manual adjustments to achieve the desired boost levels. Diagrams are essential for understanding its function‚ showcasing how it intercepts the signal from the turbocharger to the wastegate.
These diagrams often depict the MBC positioned between the turbocharger’s boost source and the wastegate actuator. Proper installation‚ as illustrated in wiring diagrams (like those for Honda ECUs referencing pin A26)‚ ensures correct operation. Visualizing vacuum line routing – from turbo to MBC to wastegate – is key to successful implementation and boost control.
How Does a Manual Boost Controller Work?
A Manual Boost Controller (MBC) functions by manipulating the pressure signal sent to the wastegate actuator. Diagrams reveal that the MBC essentially bleeds off or restricts boost pressure‚ altering when the wastegate opens. This control is achieved through a needle valve adjusted by the user.
Illustrated diagrams show the MBC intercepting the vacuum line between the turbocharger and wastegate. By closing the needle valve‚ more pressure reaches the wastegate‚ lowering boost. Conversely‚ opening it reduces pressure‚ increasing boost. Wiring diagrams‚ such as those for Honda ECUs‚ demonstrate solenoid connections impacting this process. Understanding vacuum line routing – turbo to MBC to wastegate – is vital for proper function.

Components of a Manual Boost Controller System
Key elements include the boost control solenoid‚ adjustment knob & housing‚ and vacuum lines/fittings‚ all interconnected as shown in installation diagrams.
Boost Control Solenoid
The boost control solenoid is a pivotal component‚ acting as the intermediary between the boost controller and the wastegate. Diagrams clearly illustrate its placement within the vacuum line routing‚ typically positioned between the turbocharger outlet and the wastegate actuator.
Wiring is crucial; for example‚ Honda ECU installations require connecting a wire to pin A26‚ serving as the solenoid’s ground source – a simple tap-in is recommended‚ avoiding wire cuts. Standard solenoids feature two wires. Understanding these connections‚ as depicted in wiring diagrams‚ is essential for proper functionality. The solenoid regulates airflow to the wastegate‚ directly influencing boost pressure based on the controller’s adjustments.
Proper solenoid function is vital for accurate boost control‚ and diagrams help visualize its role in the overall system.
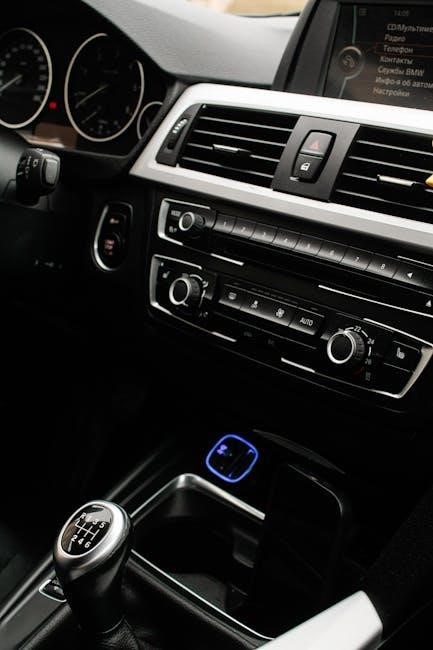
Boost Controller Knob & Housing
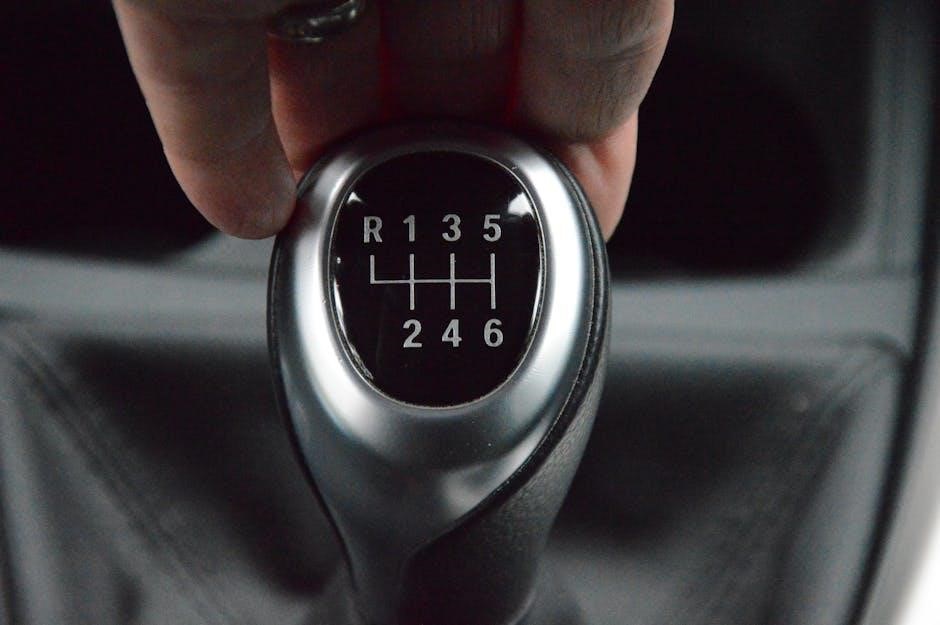
The boost controller knob and housing represent the user interface for manual boost adjustments. Diagrams showcase its typical placement within the vehicle’s interior‚ easily accessible for on-the-fly control. The housing securely contains the internal mechanisms that translate knob rotation into pressure regulation.
Adjustment is key; rotating the knob alters the signal sent to the boost control solenoid‚ influencing the amount of boost generated. Diagrams don’t typically detail the internal workings of the knob/housing‚ but emphasize its external connections to vacuum lines. Proper installation involves securely mounting the housing and ensuring smooth knob operation.
Visualizing its position in a complete MBC installation diagram helps understand its role in the boost control loop.
Vacuum Lines & Fittings
Vacuum lines and fittings are critical components‚ visually represented in any manual boost controller diagram. These lines transmit vacuum pressure‚ enabling the MBC to regulate boost. Diagrams clearly illustrate routing – from the turbocharger‚ through the MBC‚ and finally to the wastegate actuator.
Proper connection is paramount; secure fittings prevent leaks that can compromise boost control. Diagrams emphasize correct hose placement and the use of appropriately sized lines. The quality of fittings directly impacts system reliability‚ as highlighted in installation guides.
Understanding the vacuum line routing in a diagram is essential for correct installation and troubleshooting. Incorrect connections can lead to boost creep or a non-responsive controller;
Manual Boost Controller Diagram: Key Elements
Essential diagrams showcase basic installation‚ solenoid wiring (like Honda ECUs)‚ and vacuum line paths. Visualizing these connections is vital for successful MBC implementation.
Diagram of Basic MBC Installation
A fundamental diagram illustrates the core components and their interconnections. Typically‚ it depicts the turbocharger outlet connected to the boost control solenoid. From the solenoid‚ a vacuum line extends to the wastegate actuator.
Crucially‚ the diagram highlights the MBC knob and housing placement within the vehicle’s cabin for easy adjustment. It also shows the necessary vacuum source connection‚ often from the intake manifold.
Detailed schematics emphasize proper hose routing to prevent leaks and ensure accurate boost control. Understanding this basic layout is the first step towards a successful installation‚ providing a visual guide for component placement and line connections. Proper installation requires connecting hoses from the turbo and vacuum source to the controller according to markings.
Wiring Diagram for Solenoid Connection (Honda ECU Example)
For Honda ECUs‚ a common wiring approach involves tapping into the existing boost control solenoid wire. Specifically‚ connect one wire from your aftermarket boost control solenoid to the wire leading to ECU pin A26.
Importantly‚ do not cut the original wire going to pin A26; instead‚ carefully tap into it to provide a ground source for the new solenoid. This method avoids altering the factory wiring harness.
The diagram will illustrate this connection‚ showing the solenoid’s power and ground wires‚ and their respective connections to the ECU and vehicle chassis. Proper wiring ensures correct solenoid operation and prevents potential electrical issues. Always verify connections before powering on the system.
Vacuum Line Routing – Turbo to MBC to Wastegate
Proper vacuum line routing is paramount for a functioning manual boost controller (MBC). The typical setup involves a line originating from the turbocharger’s outlet‚ connecting to the MBC’s input port.
From the MBC’s output port‚ another vacuum line runs directly to the wastegate actuator. This configuration allows the MBC to regulate the pressure signal controlling the wastegate’s operation.
The diagram clearly depicts this flow‚ emphasizing the importance of secure connections and leak-free hoses. Ensure lines are routed away from heat sources and moving parts. Correct routing guarantees precise boost control and prevents erratic behavior. Always double-check connections before operation.

Installation & Adjustment
Careful installation‚ referencing the diagram‚ is key. Adjust boost pressure using the controller knob‚ but prioritize safety and follow instructions diligently.
Step-by-Step Installation Guide
Begin by carefully studying a detailed manual boost controller diagram. Locate the turbocharger outlet and identify the wastegate actuator line. Disconnect this line‚ preparing for the MBC insertion. Next‚ install the boost control solenoid‚ ensuring proper hose connections as depicted in the diagram – turbo to MBC‚ and MBC to wastegate.
For Honda ECUs‚ tap into the ECU pin A26 wire for the solenoid’s ground source‚ avoiding any cuts to the original wiring. Secure all vacuum lines and fittings tightly to prevent leaks. Double-check the wiring diagram for correct solenoid connections. Finally‚ mount the boost controller knob in a convenient location within the cabin‚ ensuring easy access for adjustments.
Remember‚ proper hose routing‚ as shown in the diagram‚ is vital for accurate boost control.
Adjusting Boost Pressure with the MBC Knob
Start with the MBC knob fully un-screwed (lowest boost setting) before engine start-up. Refer to the manual boost controller diagram to understand the relationship between knob position and boost pressure. Slowly turn the knob clockwise‚ increasing boost pressure in small increments. Monitor boost levels using a boost gauge during adjustments.
Observe the engine’s performance after each adjustment. Listen for any signs of boost creep or overboost. If boost creep occurs‚ slightly un-screw the knob. Remember‚ the diagram illustrates the flow from turbo to MBC to wastegate‚ influencing pressure.
Precise adjustments are key; avoid large‚ sudden changes. Always prioritize safety and engine health during this process.
Safety Precautions During Installation & Adjustment
Disconnect the negative battery terminal before commencing installation to prevent electrical hazards. Ensure the engine is cool before working on the turbo system. Carefully review the manual boost controller diagram to correctly identify vacuum lines and solenoid connections.
Double-check all fittings are secure to prevent vacuum leaks‚ which can cause unpredictable boost behavior. When adjusting boost‚ do so incrementally and monitor with a boost gauge. Avoid exceeding the engine’s safe boost limit‚ potentially causing damage.
Be aware of hot exhaust components and moving engine parts. Proper installation‚ guided by the diagram‚ minimizes risks.
Troubleshooting Common Issues
Verify the diagram’s vacuum line routing for leaks causing boost creep. Confirm solenoid wiring‚ like Honda ECU connections‚ is correct for proper MBC response.
Boost Creep & Overboost Scenarios
Boost creep‚ exceeding the intended pressure‚ often stems from incorrect manual boost controller (MBC) setup‚ directly relating to the diagram’s vacuum line routing. A leak within the system‚ as illustrated in installation diagrams‚ can cause unintended pressure increases.
Overboost scenarios are frequently linked to a wastegate that isn’t functioning correctly or is improperly adjusted in relation to the MBC. Carefully review the diagram showing the connection from the turbo‚ through the MBC‚ and finally to the wastegate.
Incorrect solenoid wiring‚ such as improper grounding via the Honda ECU pin A26 (as detailed in wiring diagrams)‚ can also contribute to instability. Ensure all connections align precisely with the provided schematic to mitigate these risks and maintain safe boost levels.
MBC Not Responding to Adjustments
A non-responsive MBC often points to issues within the vacuum lines‚ directly visualized in the installation diagram. Check for kinks‚ disconnections‚ or leaks – even small ones – along the route from the turbo‚ through the controller‚ to the wastegate.
Solenoid malfunction‚ as indicated by wiring diagrams (like those for Honda ECUs and pin A26 grounding)‚ can prevent proper operation. Verify correct wiring and solenoid functionality.
Internal controller issues are also possible; ensure the adjustment knob isn’t stripped or jammed. Refer to the diagram to confirm the internal mechanism is moving freely. A blocked or restricted vacuum source will also hinder response‚ so trace the lines carefully.
Vacuum Leak Detection
Identifying vacuum leaks is paramount for MBC functionality‚ and the installation diagram is your guide. Carefully inspect all connections – turbo‚ controller‚ and wastegate – for looseness or damage. A common method involves spraying a small amount of carburetor cleaner or soapy water around fittings while the engine runs.
Bubbles indicate a leak‚ pinpointing the source. The diagram highlights critical junctions; pay close attention to these. Remember‚ even a tiny leak disrupts boost control.
Check solenoid connections (referencing wiring diagrams like those for Honda ECUs) and ensure the controller housing is sealed. A vacuum gauge connected to the system can also reveal pressure drops‚ aiding leak detection.

Advanced Considerations
Comparing MBCs to electronic controllers reveals trade-offs. Diagrams aid understanding system wiring‚ like digital governor setups‚ impacting engine health and boost control strategies.
MBC vs. Electronic Boost Controllers
Manual Boost Controllers (MBCs) offer a direct‚ mechanical approach to boost regulation‚ relying on driver input and a simple diagram of vacuum line routing. Conversely‚ electronic boost controllers (EBCs) utilize a solenoid and the vehicle’s ECU for precise‚ automated control‚ often displaying data and offering programmable settings.
Diagrams become vital when installing either system‚ showcasing solenoid wiring – for example‚ connections to Honda ECU pin A26 – and the critical path from the turbo‚ through the controller‚ to the wastegate. While MBCs are generally more affordable and simpler to install‚ EBCs provide greater accuracy and the ability to adjust boost on the fly. The choice depends on the driver’s preference‚ budget‚ and desired level of control.
Ultimately‚ understanding the system wiring and boost control solenoid function‚ as depicted in installation guides‚ is paramount for both types of controllers.
Impact of Boost Control on Engine Health
Precise boost control‚ visualized through a detailed diagram showing vacuum line routing and solenoid placement‚ is critical for engine longevity. Incorrect boost levels – whether too high causing detonation‚ or too low impacting performance – can severely damage internal components.
A manual boost controller (MBC) diagram highlights the importance of proper installation‚ ensuring accurate pressure regulation. Understanding solenoid wiring‚ like connections to the Honda ECU pin A26‚ is vital for correct operation. Overboosting‚ a common issue‚ can lead to catastrophic engine failure‚ while insufficient boost can strain the turbocharger.
Careful adjustment‚ guided by the diagram‚ and adherence to manufacturer recommendations are essential to maintain optimal engine health and prevent costly repairs.
